Showing posts with label crochet. Show all posts

Thursday, April 4, 2024

Crochet Pattern: TV Remote Holder for a Couch Arm

 Everybody needs a place for their TV remotes. A remote location, if you will. This pattern is a simple rectangle, but the difficulty lies in finding the size you need. Here is my math: I measured my remotes (9"x2" and 8.5"x2") and I measured the length I wanted on the couch arm. My plan is to tuck one side between the couch cushion and the arm, and have the remotes in a pocket on the other side of the arm. Going off the length of the remotes, I wanted a 6" pocket. Here's my pattern with the finished product underneath it:

You can see my math all scratched in there. Here's the finished product so you can see the length I was measuring:

So I did an inch of buffer on each side and one in-between the remotes to get a width of 1+2+1+2+1=7". I then did the length of the remote plus an inch of buffer plus the length over the arm to tuck into the cushion plus 6" for the pocket to get 9+1+18+6=34". So for my couch, 34"x7" worked and that's what the pattern should make. 

Hook size: 5mm, standard yarn (wanted something soft since it's on the arm of the couch but I might have gone too stretchy, we shall see since the remotes are hanging in it). 
1. Chain about 134, turn.
2. Single crochet all, chain 1 and turn.
3-14. Double crochet all, chain 2 and turn. (12x)
GO MEASURE - take your work and ensure that the remotes fit and it fits on the couch arm. Adjust if needed.
15. Cut yarn and finish off. 
16. Fold up the pocket and, starting in the bottom corner, slip stitch up one side, single crochet the top of the pocket, and slip stitch down the other side. Cut yarn and finish off. Inside-out to hide the seam.
17. Starting at the top middle of the pocket, slip stitch all the way down to make the pocket have two sections (one for each remote). Cut yarn and finish off. 

This pattern should be simple to adapt to more remotes - add more rows to make more room then add more lines of slip stitches to mark off more pocket divisions - and whatever size couch arm you have - adjust the length so it fits. 

I hope this helps you keep track of your remotes!

Monday, August 1, 2022

Reusable Bag Car Loop Pattern

My state has a bag tax, which means I try to keep some reusable bags in my vehicle. But I don't have a good place for them! My glove box is full of papers, and my doors are full of sunglasses and an armadillo (graduation present from my then-7-yr-old brother). So I made a loop that fits over my gear shift! Here's what I did:
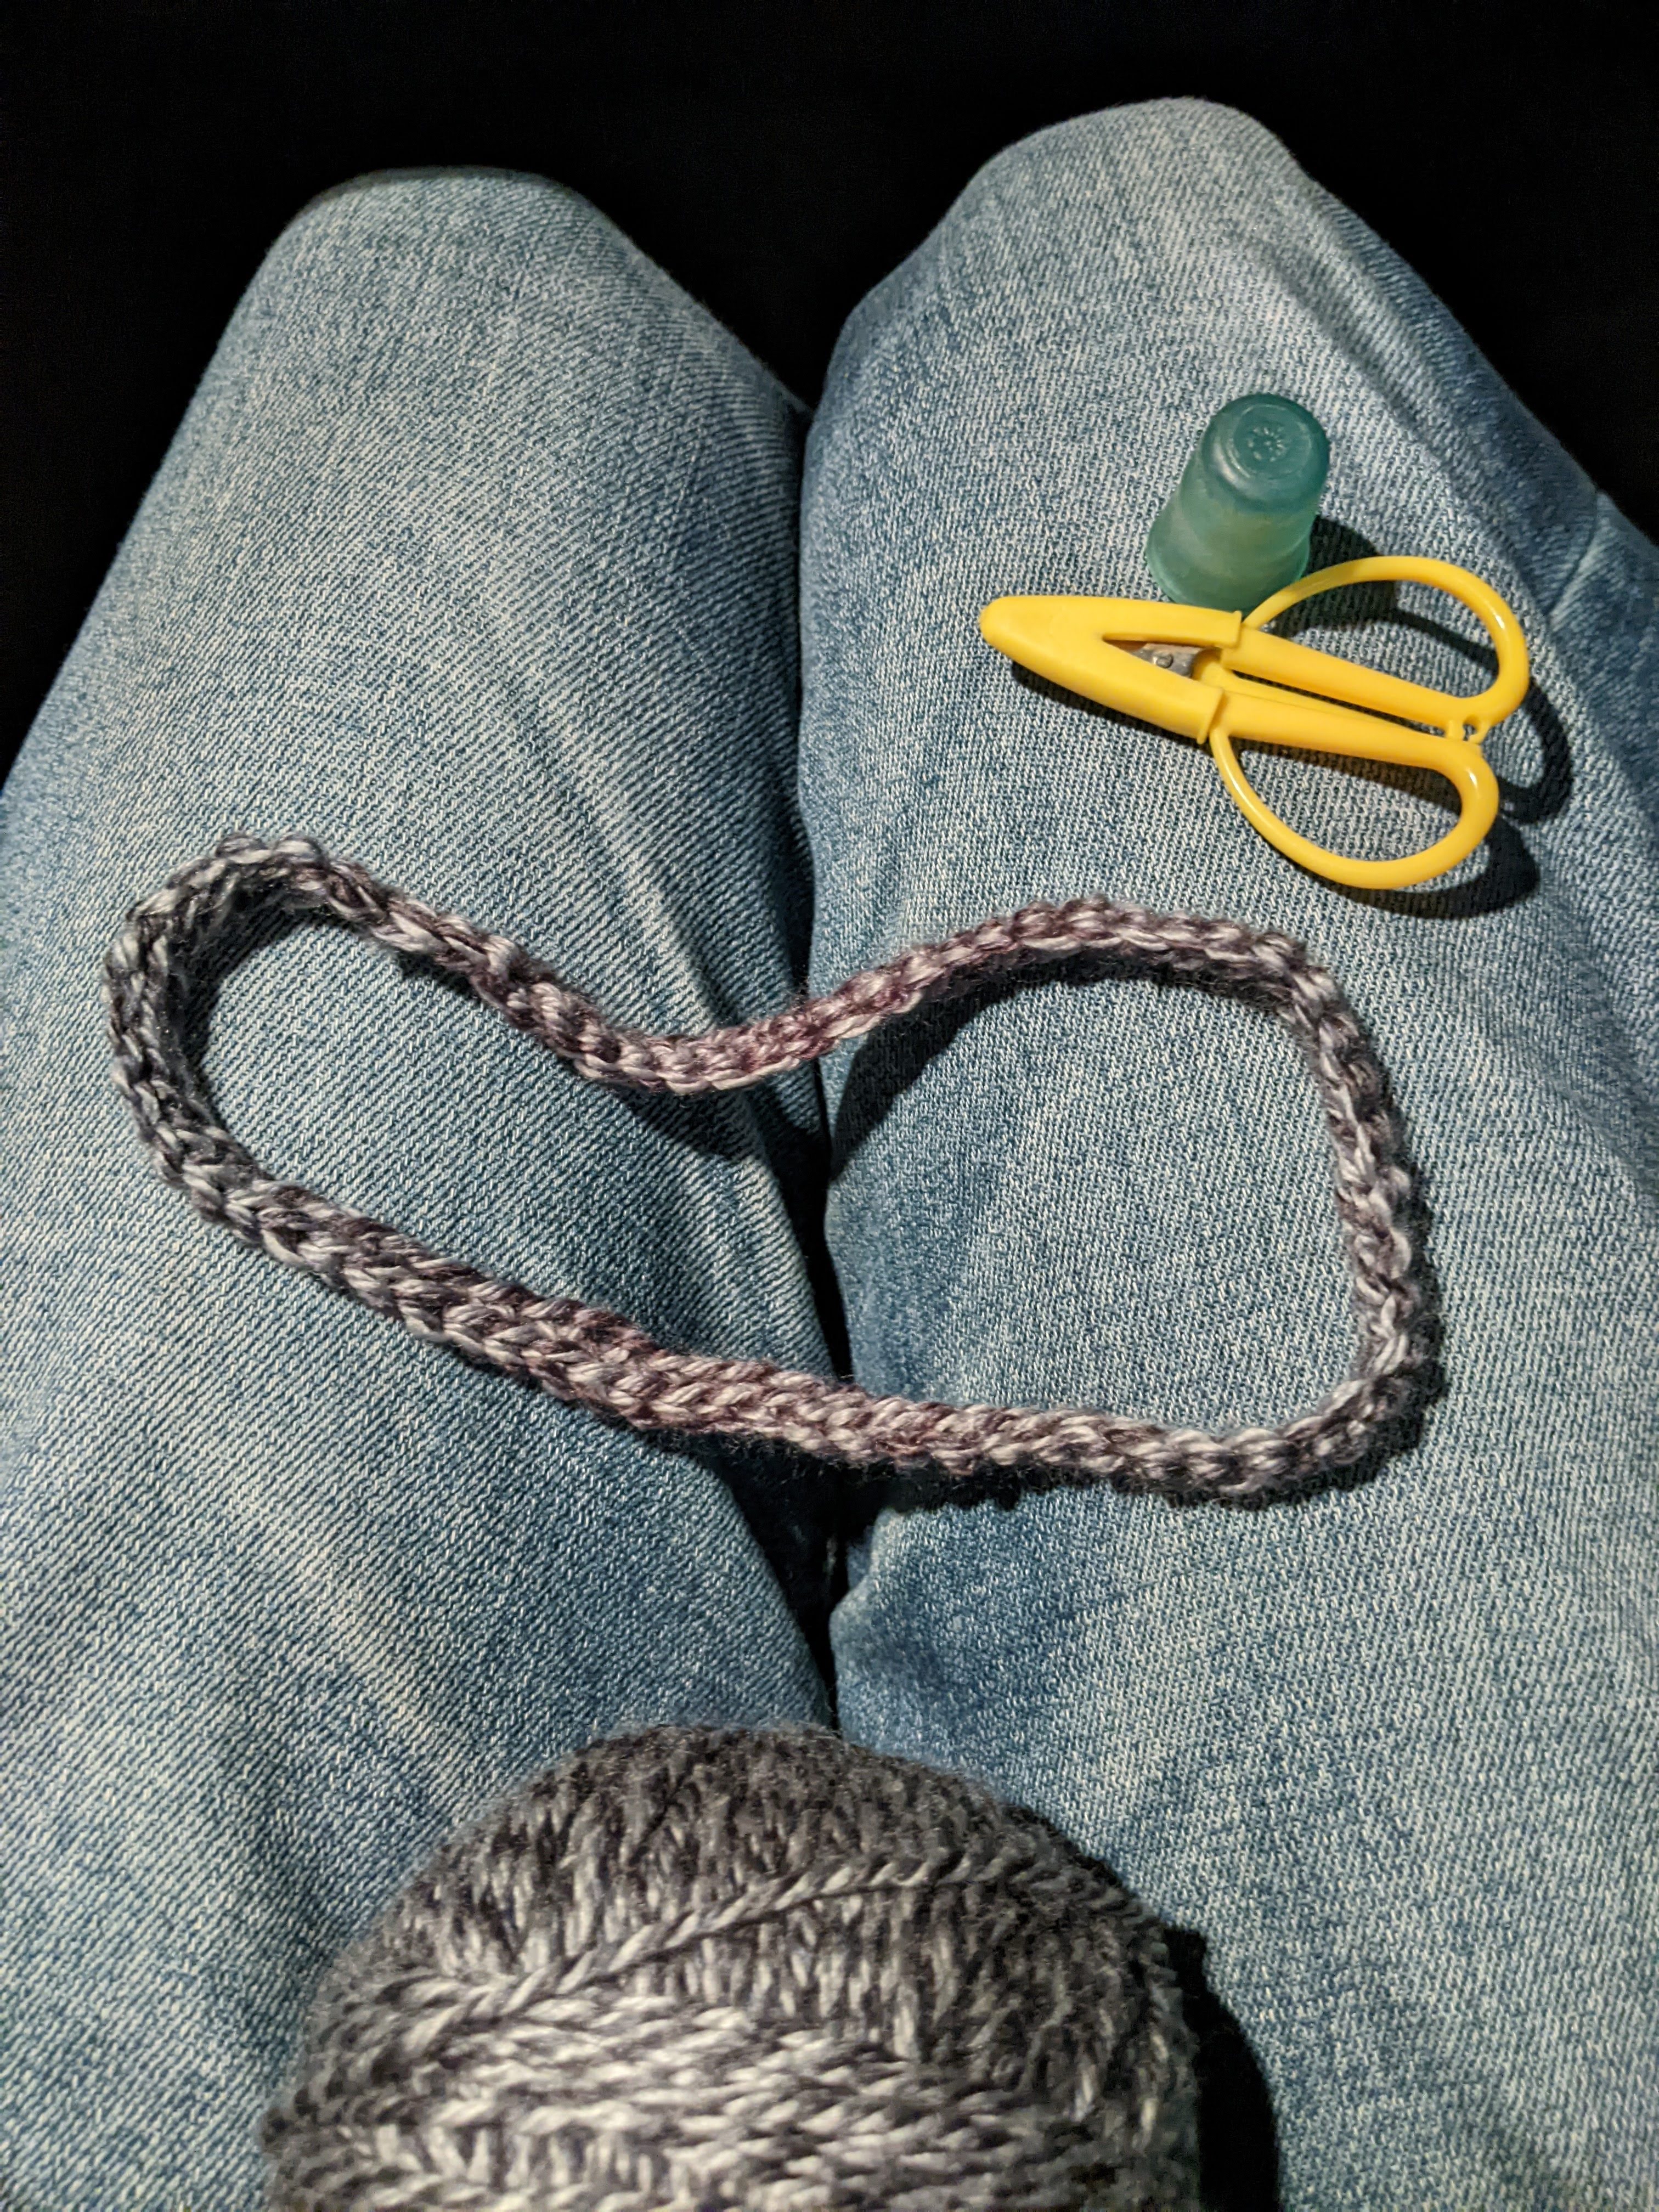
1. Made a chain that fits over my gear shift twice (hold the ends together to make a loop, slide over the shift, twist, slide over again - if there's some wiggle room, you're at the right length!).
2. Slip-stitch the end to the start to make a loop, then single crochet all around. Cut yarn and finish off.

To use, slip the loop over your gear shift. Slide the bags onto the loop (you need the kind of reusable bag that has a little loop for hanging). Loop the loop (haha) back over the gear shift. Secured!

Here's the loop.
Here's the loop on the shifter, with bags slid onto it.
And here's the bag holder holding bags.

Hope this is a helpful addition to your car! 

UPDATE: It's not just for bags! This pattern is what I used to make bootloops / bootstraps for my ski boots and snowboard boots. You loop the loop through the loop on the top back of the boot to hold the boots together for ease of carrying. You can make the loop a little thicker for this (add another round or two of SC) so it's more comfy in your hand, since ski/board boots are not light. 

Saturday, July 30, 2022

Pot Scrubber Crochet Pattern

 Here is a popular crochet pattern, from Maggie's Crochet: Nylon Pot Scrubber.

I made this pattern, but not quite as directed because at first I didn't have a size N hook, then I couldn't find 2" nylon netting. Here's a photo of what I made, with the descriptions below.


Starting on the left, the blue is with Yarn Bee Scrub-ology Scrub It yarn and a size N hook. I bought a new skein for this because I wasn't sure if my leftovers from another project would be enough (I'm fairly certain I only had a few yards left). This yarn is a scrub yarn, so you want to protect your fingers and work slower so you don't rub your skin raw. This skein cost around $4 full price (79yd), and special yarns don't always go on sale with the regular but you can always check!

The yellow and green is with two strands of Yarn Bee Scrub-ology 2.0 yarn, and the yellow is with just one strand. These are using a size K hook. These were made with leftover yarn from another project - you can make a lot of scrubbers with one skein of this yarn! A review HERE says they made 7 scrubbies from one skein but I don't know what type they were making. I don't have a photo of the wrapper for this one since it's leftover yarn, already unwrapped. Same warning as the previous one, work slowly and use a thimble or something to protect your fingers so they don't get rubbed raw. Looks like the pricing is about the same as the other Yarn Bee, so about $4 per skein. I think you can make more out of this one than the other because I'm fairly certain the yardage is a bit longer but I can't find the yardage anywhere. The thinner skeins usually have much more yardage on them. 

Lastly the big green is using 1.5" x 10yd organza 100% nylon ribbon and a size N hook. This one is only one-sided because I ran out of ribbon! Yes, that means you'd need 20yrds of 1.5" ribbon to make one of these scrubbers. That is about $8 of ribbon (full price - please look for sales as craft stuff is always getting discounted). But you actually might need more because I only have a small portion left over (wraps around the spool 3x) and that is probably not enough to connect the two pieces. It might be, combined with the leftover from the second spool you will need, but you'll be tying the ending together so there'll be knots on your border. Not the best. I will add that crocheting with ribbon is annoying. I would charge extra if someone wants an item crocheted out of something that's not yarn.


Monday, May 23, 2022

Turtle Duck Pattern

Ok, so have you watched Avatar: The Last Airbender? There is an amazingly cute animal on that show called a turtle duck. Ever since finding a (paid) duckling pattern from Little Conkers, I have wanted to figure out how to make a turtle duck. And I decided to just go for it after finding a turtle pattern from Pink Mouse Boutique! I crocheted this little guy for my little brother who is graduating college (WOW how is my little brother already at that milestone???) so this is scheduled to post after I've given him his gift. I might need to make one for myself as well because it's just too cute. All in all, took about two hours to crochet and assemble.

First off, here are the patterns: 
Duckling from Little Conkers - this one is not free but it is very well written and totally worth a few dollars.
Turtle from Pink Mouse Boutique - this one is free

You will just need the feet (x4) and duck bill from the duckling pattern, then you will make all but the feet from the turtle pattern. Attach the duck bill between the eyes on the face, and attach the duck feet where it says to attach the turtle feet. 

NOTE: with the duck feet, I did NOT do the heel bobble, since we want to attach the feet flat to the turtle, so just skip the bobble. I added a turning chain to keep it smooth. You also don't need a tail on the foot since we are stitching it right in like the turtle pattern says.

I used a 3.5mm hook for both patterns and that made the sizing work out. Which was nice because I did not want to figure out what size hook to use on each pattern to get them proportional. It could be argued that the feet are a little big, but I see that as endearing. The colors were just yellow for the head and belly, orange for the bill and feet, and a variegated brown for the shell. I put in some safety eyes and used a yarn needle to stitch the pieces together.

Finished product:


Monday, May 9, 2022

Pacifier Dangle / Luggage Marker

 There is a very popular brand of pacifier, the Soothie, that works great and does not have anything attached to it, so it's very safe for little babies. But you know what's annoying about a pacifier with nothing attached to it? When you drop it, it disappears. Especially if you have it in light pink and you have light tan carpet. One time, we searched all over our bedroom trying to find this pacifier, only to slip on our slippers in defeat and find it somehow had gotten inside one slipper. How??? Anyways, I crocheted a little dangle that loops onto the classic Soothie so when you drop it you can find it! Also, my baby girl (who is one year old) likes to fiddle with the dangle and can use it to hold her pacifier more easily. What if you don't have the Soothie but rather some other brand? Well as long as it has a hole, handle, or some way to pull the dangle through and wrap around, it will work! If you have something like this, sorry there's nothing to attach the dangle (well there are the corner holes but then the yarn will be pressed against your baby's face and it will get gunky fast and trap moisture which is bad). 


Unattached (above), you can see it has three dangles below the main area which has the loop on top, used to attach to the pacifier. Below, two pacifiers with their dangles (the pink one has the dangle made in this pattern below, the green one is a variation on the pattern). The pink one is attached to the edge of the pacifier which is not the best as it is against the baby's face, i.e. gets gunky fast. But these are easy to detach and wash so that's a plus! 

UPDATE: This pattern can also be used as a luggage tie! To make your bag stand out a little more on the carousel with all the other similarly shaped and colored bags. Pick a vibrant yarn and make your bag distinct! Loop your luggage marker on a zipper and you're good to go.

Pattern:

There is a lot of leeway with this pattern. I wrote it with a 9-stitch main block, but my previous one has more like a 5- or 6-stitch main block. Also, I gave the previous one a longer top loop, maybe like ch30 rather than the ch20 on the pink. Lastly, there are many options with the tendrils. I picked variations from Nicky the NICU Jelly's tentacles, but also have made up some of my own variations. 

Hook: 3.5mm [E/4]

Yarn: I used a slimmer yarn, maybe sports weight, because the hole in the pacifier is not very large. 

Chain 30

Row 1: Turn, 2SC in 2nd stitch from hook and in next 20 [this is a tightly curled tendril], then 1SC in last 9

Row 2: Turn, ch1, 1SC in first 9, ch15 [this is the second tendril]

Row 3: Turn, 1SC in 2nd from hook and all the way to end [straight tendril which will still curl a little]

Row 4: Turn, ch1, 1SC in first 9, ch25

Row 5: Turn, 1SC in 2nd chain from hook, *2HDC in next, 1DC in next, 2HDC in next, 1SC in next* repeat til main area [variation of a curly tendril], 1SC in last 9

Finishing: SC around top corner and across top of piece, then ch20 and attach to opposite corner for the loop. Cut yarn and weave in ends. 

To attach: push the top loop through the hole in the handle of the pacifier, then pull the tendrils through the loop. <-- this is why it's important to not use a bulky yarn or bigger hook. If you want to use either, then just switch to the slimmer/smaller for the loop portion (finishing step).

Variations on tendrils

You can do whatever length you want, and however many you want. With just two it looks a bit slim, and I haven't tried with more than three (might be bulky). The important thing is to keep the main area the same size above each tendril, otherwise it looks a little wonky. 

You can do a bubble pattern, so on the way back up the tendril do *1SC, 1TripleCrochet* repeat til the main area. The Triples will 'pop' out and your kid can fiddle with pushing them back and forth. 

You can vary the curliness by adding or dropping stitches, like in the jellyfish pattern she has *2SC, 1SC* instead of 2SC the whole way back. You also could try 2DC or varying *2DC, 2SC* all the way back. So many options! 

Thursday, April 28, 2022

Crochet Pattern: Ikea's Poang Armchair arm covers

Ikea has a popular armchair - the Poang. It works great in your house, specifically in your nursery as the chair has enough give to allow some bounce/rocking when calming your baby. The annoying thing is the arms of this chair - they are hard and it's uncomfortable for your elbow or your baby's head to rest on them. Solution: this pattern to cover said arms of said chair! 

How did I come up with this pattern? I figured a rectangle would work nicely, and went from there.
Is this US or UK? US.
Will this work on the Ikea rocking chair? Not sure - the arm is a little different on that one since the rocking part loops around to it, I will update if I try putting a set of my wraps on the rocker in my church's nursery. UPDATE I have tried it and as long as you leave a long tail for weaving and just skip the part where the two pieces meet under the handle then you're good to go. 

If you want to use a bulkier yarn (I received a few skeins from a friend, not sure the weight but it's very plush), then adjust the starting chain length and number of rows to fit. I used the length of my arm from elbow to fingertip to estimate the length I needed.

Yarn: Super Bulky 6 (see photos below), specifically Bernat Blanket
Hook: 6.5mm, US K 

Starting chain: 45 stitches.
Row 1: Using two of the stitches as the turning stitch, double-crochet across the whole way (43).
Row 2-6: Chain 2 for turning stitch, then double-crochet across the whole way (43).
Row 7: Chain 2, *double-crochet in first stitch, chain 1 and skip 1* repeat between the * to the end, finishing with a double-crochet. LEAVE A LONG TAIL, the length of the piece and then a little extra just to be safe. Cut the thread, pull through last stitch to tie off.
To Finish: Wrap the rectangle lengthwise around the arm of the chair, keeping the seam on top for ease of attachment. Using either a hook or a yarn needle, sew the long sides together using the starting chain on one side and the holes created by the single chains on the other. Pull tightly so the arm cover won't slide around. Tie off at the end and rotate so the seam is underneath the arm of the chair. Tada!

Photos:

The yarn I used - 


Installed on the chair in my home nursery -


The finished product before being installed (neglected to get a photo of the colorful ones before installing so you have a boring black one here, headed for a black/gray chair in my church's nursery, where if I remember I'll try it on a rocker to see if it fits) - 


Wednesday, January 29, 2020

Crochet Pattern - Nintendo Switch dock cover

I was looking for a gift for my little brother, and I came across this pattern for a Nintendo Switch Dock Cover:
http://www.christineswilliams.com/2017/05/pokemon-pikachu-nintendo-switch-dock-cover-crochet-intarsia/
I liked the concept but not the design - I'm not really into eight-bit pokemon. I came up with my own design which is an NES controller. In the end it was a little too long, but that's better than too small.
I did a green background, but any color really would work for that.
In all I had 6 colors: the background (green), white, two grays (dark gray, silver), black, and red. You only need a tiny bit of red, for the two buttons (literally two stitches). The white I used for the border of the controller, the dark grey was for the main body of the controller, and the silver was for the center bars. Black was used for the X controller and the select/start buttons.
My stitch dimensions were 42 rows with 49 stitches per row.

I started with a chain 50. The last stitch is the turning chain, so each row will have 49 st then finish with a chain 1 and turn.
I did 21 rows with the background color. This is the back of the piece, it's boring.
Now it's time for the front.
I did three rows of the background color, for a nice border, and I start and end each row with three stitches of the background color. I then finish the front with three rows of the background color, to finish it out. After completing, fold in half and stitch up both sides to finish.

This pattern is all single crochet, I think a tight stitch is helpful since it's a screen protector. I should have written down what type of hook I used but I do not recall - I think I used what is recommended by Christine so a 2.75mm. Keeping the yarns from getting tangled was difficult - stay cognizant of your threads and untangle before they get hopelessly intertwined.


Color Key: 
A is green (background color), B is white, C is dark gray, D is silver, E is black, and F is red.


NOTE:
All rows are written left to right, but obviously when you crochet, you are taking turns starting on the left then right then left. I made this patter from a spreadsheet and failed to take that into account. So I believe it is on the even rows, read right to left with the stitches (the black X should be on the left of the pattern).

Pattern as a Spreadsheet
Row 1: 50A
Row 2-21: 49A (this finishes the back)
Row 22-24: 49A
Row 25-26: 3A, 43B, 3A
Row 27: 3A, 1B, 13C, 15D, 13C, 1B, 3A
Row 28: 3A, 1B, 41C, 1B, 3A
Row 29: 3A, 1B, 5C, 3E, 5C, 15D, 13C, 1B, 3A
Row 30: 3A, 1B, 5C, 3E, 33C, 1B, 3A
Row 31: 3A, 1B, 5C, 3E, 5C, 15D, 13C, 1B, 3A
Row 32: 3A, 1B, 2C, 9E, 2C, 15D, 13C, 1B, 3A
Row 33: 3A, 1B, 2C, 9E, 33C, 1B, 3A
Row 34: 3A, 1B, 2C, 9E, 2C, 15B, 2C, 3B, 2C, 3B, 3C, 1B, 3A
Row 35: 3A, 1B, 5C, 3E, 5C, 1B, 5E, 3B, 5E, 1B, (2C, 1B, 1F, 1B)x2, 3C, 1B, 3A
Row 36: 3A, 1B, 5C, 3E, 5C, 15B, 2C, 3B, 2C, 3B, 3C, 1B, 3A
Row 37: 3A, 1B, 5C, 3E, 33C, 1B, 3A
Row 38: 3A, 1B, 13C, 15D, 13C, 1B, 3A
Row 39: 3A, 43B, 3A
Row 40-42: 49A
Fold in half, with the threads/backside on the outside, then stitch up the sides and tidy up the back. Flip right-side-out and you're good to go!


And here is my finished product, on my brother's Switch dock.

I hope you find this pattern enjoyable! You are welcome to make your own pattern like I did, just using the dimensions given here and in the source pattern. Have fun with it!

Monday, February 27, 2017

Crochet: Minion

I made a minion. Actually two. These are the characters from Dreamwork's Despicable Me franchise. My niece loves them, so I tried my hand at making them.

I started off by watching this video: https://www.youtube.com/watch?v=_z_ZA9tbJHU
Actually I started off by getting my yarn. I used five colors: brown (for the eye iris - you only need a little and you can use whatever eye color you'd like), light grey (eye), black (goggles, gloves, shoes, hair), sparkly blue (overalls), and yellow (skin). Actually the grey should be white, but I didn't have white so I used light grey. I'll call it white in my pattern because that's the optimal color but light grey looks fine.
Other things you'll need - crochet hook (obviously), yarn needle, stuffing.
It's possible that you could use Safe Eyes or something instead of the brown yarn for the pupil but I just had yarn on hand so I just used yarn.

Yellow Yarn (head):
This part follows the video pretty closely.
Make a magic circle with 6st like at the start of the video.
Put two single crochet (SC) in each stitch. It's helpful to mark where your circle starts (thanks to my awesome coworker Kathy, I have stitch markers!). Do the whole round.
Put one SC in the first stitch, then two SC in the next - repeat for the whole round.
Put one SC in the first stitch, one SC in the second stitch, then two SC in the third stitch - repeat for the whole round.
(You should be making a dome shape)
This time, put one SC in each stitch for the whole round. This should make a nice curve because we are moving from the dome to the straight sides of the Minion.
Continue putting one SC in each stitch and make the head as long as you would like. When ready, no need to cut or tie off yet - just leave the active yarn hanging.
Black yarn (hair):
Next, snip some black yarn a few inches long and tie them on top near the center of the head to make some hair. I found it easier to use longer threads then trim them if desired. I used a yarn needle to loop the thread around a stitch, then knotted it, then use the needle to loop one side around again then pulled so the knot was on the inside.

Next, I made the goggles.
White yarn (eye):
Make a magic circle like above (don't pull the center extremely tight - you will need to make a pupil) and leave a tail so you can connect to the black.

Black yarn (goggles):
Tie to the white (I made a slipknot on one, then knotted the other onto it, then pulled tight) and do one round of two SC in each (you don't want it to curve - you want a flat eye). If you're just doing one eye, then you're ready for the strap.
If you're doing two eyes, then repeat the White yarn step above but tie it off at the end and then move into the black yarn step (or join the colors however you want) and do the step finishing at the nose of the glasses.
Brown yarn (iris):
Really you can make this any color - I used brown for the contrast against the white/grey of the eye.
I cut a few inches of yarn, then tied the yarn to one side of the back of the pupil. I then loosely pulled it across the center of the eye and tied it over on that side, leaving plenty of give in the center (you'll see why). I then went to the front of the eye and used the hook to pull the brown yarn through. Play with it to make it pop through however much you'd like. Trim any ends if needed.

Black yarn (goggle strap): 
With one eye, you don't need to tie off - just move right into the strap. With two eyes, you finish at the 'nose' of the goggles so you'll need to tie off and then stitch in as the 'ear' of the goggles.
Once you place your goggles where you want them on the face, start slip stitching all the way around the head until you join with the other side.
I then slip stitch around the goggles to attach them to the face just for extra security (and so they wouldn't peel up or down), or you can use the yarn needle and tack down the edges of the goggles.

White (mouth):
I snipped a length of white and used a yarn needle to make a smile.

Blue (overalls):
I connected the blue to the yellow on the back of the Minion, so finish your yellow to the back and then join the blue (slip knot one, knot the other into the slip knot, pull tight, or use whatever joining you prefer). SC into each stitch at you want to continue the straight sides of the Minion. Go for however many rounds you'd like - closing off the bottom does not add much length so make the torso however long you'd like. Once you're at your desired length, leave the blue yarn hanging (don't cut off).

Black (gloves): 
I made and attached the arms at this point so I still had access to the inside of the Minion.
Make a magic circle with 6st like earlier, but only put one SC in each (makes it turn down right away).
Do one round for the gloves, then....

Yellow (arms):
Join the yellow to the black and continue doing SC rounds until the arm is the desired length (8 rounds worked for me).
I then attached the arm by slip stitching into the torso all the way around the arm base. You could probably just stitch it on if that's easier. Be careful where you attach the arm - don't put it too far back on the sides or the arms will point backwards rather than forwards.
**NOTE** I did not stuff the arms (or legs). They are quite thin and I wanted them to be maximally flexible. You could stuff them if you want a more rigid shape.

Then the fun part - make another glove/arm combo that's the same size as the first one and attach it to the other side.
Stuffing time!
As previously noted, I did not stuff the limbs but I did stuff the body! I used yarn scraps for one Minion and actually stuffing for the other - use whatever you want to stuff it. It's a fairly open shape, so no need to poke it into crevices or anything like that.

Blue (overalls):
Close off the torso by repeating the head steps in reverse order like so:
Mark the start so you know when a round is done.
Put one SC in the first stitch, one SC in the second stitch, then skip the third stitch - repeat for the whole round.
Put one SC in the first stitch, then skip the next - repeat this round and round until the loop is closed - I finished with a slip stitch and then knotted and wove in the end.

Black (shoes):
Repeat the black gloves steps.

Blue (legs):
Repeat the yellow arms steps. Attach the legs to the body in a similar fashion, but this time you won't have access to the inside of the Minion since this attaches to the closing.

More fun times - make another shoe/leg the same size and attach it.

Blue (pocket - OPTIONAL):
You can make a pocket on the front of the overalls - it will be tiny and slightly frustrating. I stitched in, then chained about three, then stitched in to make the top of the pocket, then went down and repeated but joined with the previous row, and then the final row was joined to the torso and the previous row. I might try just stitching a pocket separately then adding it on - would probably be easier.

Weave in any ends and your Minion should be good to go!